Kentucky homeowner garage door maintenance is routine observation, cleaning and manufacturer-approved care aimed at keeping your door operating safely and catching faults before you keep using it. This garage door maintenance checklist separates tasks you can handle from spring, cable, track and bracket work that belongs to a professional.
TL;DR
- Garage door maintenance checklist Kentucky homeowners can use: inspect first, follow the manual, and stop at signs of damage.
- Derby Strong provides garage door repair and opener service for homeowners in Louisville, Lexington and Northern Kentucky.
- Keep spring, cable, track and bracket repairs professional-only; never increase opener force to overcome a fault.
- Repair isolated faults when appropriate; assess replacement when the door has broader damage or recurring problems.
Why garage door maintenance matters for Kentucky homeowners
A garage door combines a moving door, a counterbalance system and an opener. A working remote does not establish that the whole assembly is safe. Your maintenance routine needs to cover the door itself, its travel path and its safety devices—not just whether the motor runs.
Homeowners also have different access needs. An attached garage can be a daily entrance; a detached garage can hold equipment you use less often. In either setting, blocked sightlines and stored items can hide a developing problem.
Derby Strong provides garage door repair, installation and opener service in Louisville, Lexington and Northern Kentucky. Derby Strong provides professional garage door repair for spring, cable, track and bracket faults in Louisville, Lexington and Northern Kentucky.
Use the same safety boundaries in each market, but give the service provider your actual location and property constraints. A shared driveway, tight parking area or garage without another entrance changes how you prepare for service—not how you handle a tensioned component.
Follow these 7 maintenance steps
These 7 steps are an observation-and-care checklist, not a repair manual. Start with a stationary door and a clear work area. If you find damage, stop the sequence instead of operating the door to finish the checklist.
1. Establish a safe starting point
Before touching controls, look at the door from a safe distance. A tilted door, loose hanging component or cable out of position is a reason to stop. Keep people and pets away from the opening and avoid standing beneath a door that appears damaged.
If the door is already open and visibly compromised, do not attempt to close it or pull the emergency release. Disconnecting the opener does not remove spring tension or secure an unstable door.
For routine observation, begin with the door fully closed only if it can already reach that position without a known fault. You are checking its condition, not proving that a questionable door can complete another cycle.
- Clear people, pets and vehicles from the travel area.
- Remove loose storage items without touching door hardware.
- Look for a crooked door or hanging parts before using controls.
- Stop if the door appears unsupported or unstable.
- Keep children away from remotes and wall controls during checks.
2. Inspect the door without adjusting hardware
Look across the panels, visible hinges, rollers, tracks and accessible hardware from floor level. Compare both sides for obvious differences. A cable that looks displaced, a roller outside its track or a separating bracket needs professional attention.
Do not tighten brackets or loosen fasteners as a general maintenance habit. Some brackets connect to components under tension, and the consequence of an incorrect adjustment is not limited to a loose screw.
Record what you can see without climbing, removing covers or moving damaged parts. A clear description is more useful than an attempted fix that changes the original fault.
- Note cracked, bent or separating door sections.
- Look for displaced rollers and visibly distorted tracks.
- Observe cables without touching or trying to reseat them.
- Photograph visible damage from a safe position.
- Leave springs, cables, tracks and brackets unchanged.
The safest visual check keeps you outside the door’s travel path and leaves the hardware untouched. You do not need to stand underneath the door to document an obvious defect.
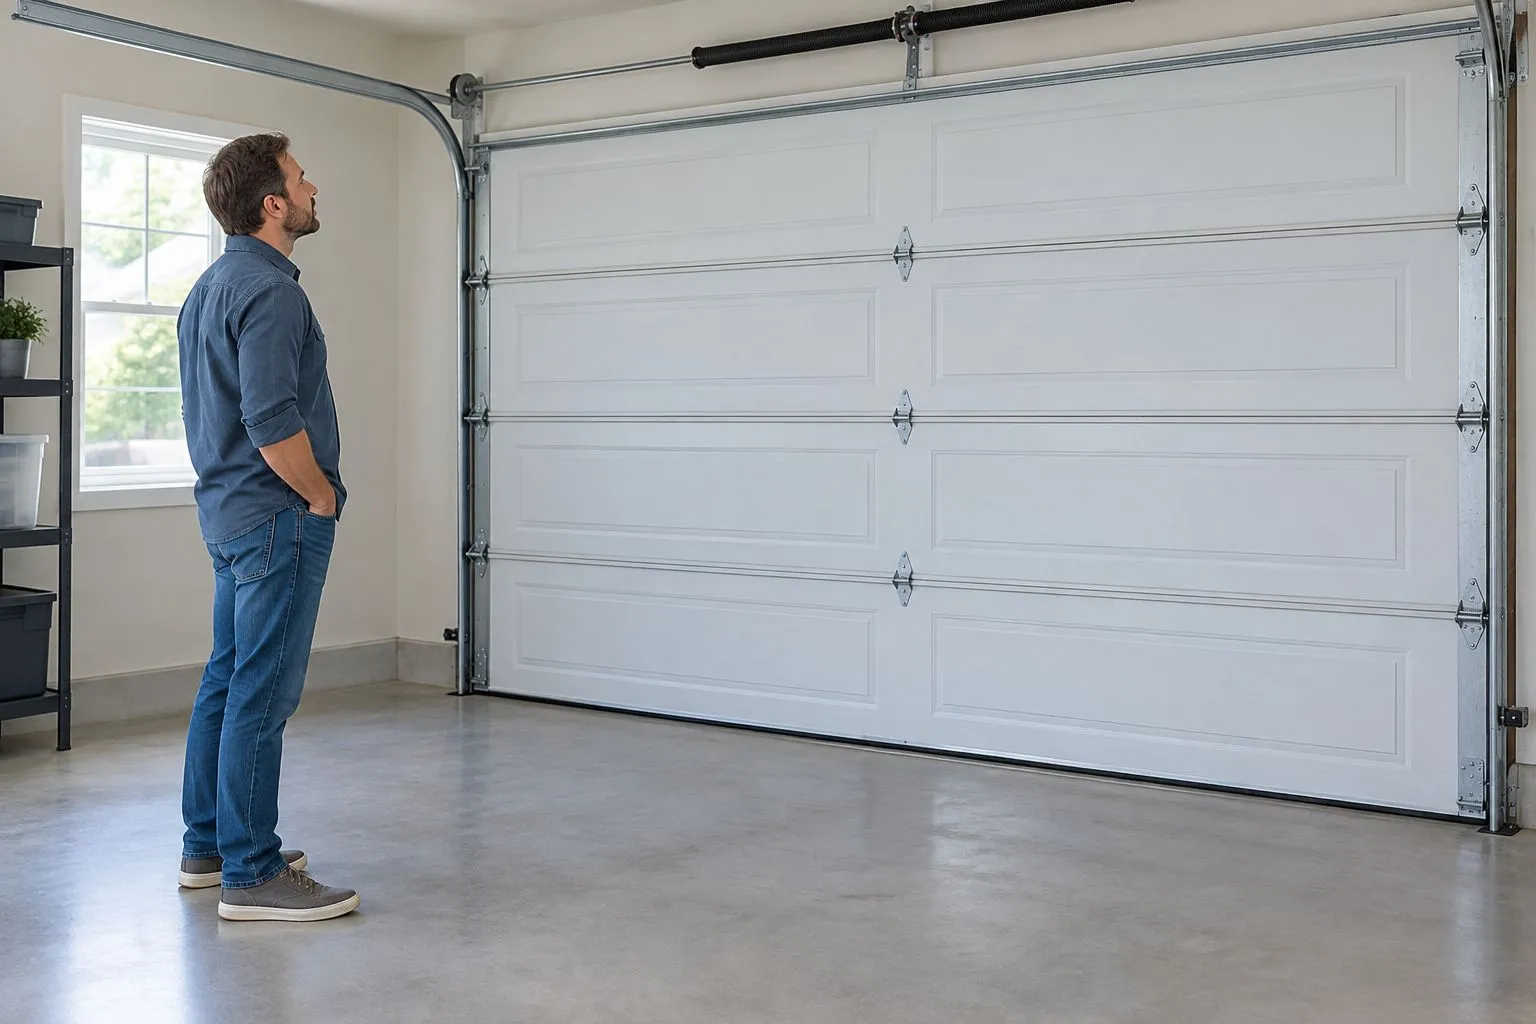
Illustrative photo: observe the door from a safe position without adjusting its hardware.
3. Observe operation only after the visual check
If there are no visible faults and the door has been operating normally, observe its movement from a safe position using the normal control. Keep the entire opening visible. Do not walk under the moving door or reach toward a roller, hinge or track.
Listen for a new scraping sound, watch for uneven movement and note where the door hesitates. Stop using the door if movement becomes crooked, jerky or uncontrolled. Repeated cycling is not a diagnostic shortcut.
Describe the symptom precisely when requesting Derby Strong garage door maintenance or repair assistance. Whether the door stops while opening, reverses while closing or makes noise at one location gives the technician a clearer starting point.
- Keep the doorway clear throughout normal operation.
- Watch both sides for uneven travel.
- Note new scraping, grinding or abrupt movement.
- Record whether the problem occurs opening or closing.
- Stop rather than repeatedly cycling a faulty door.
4. Check opener safety devices using the manual
Find the manual for your exact opener before testing its safety functions. Photoelectric sensors and contact-reversal functions serve different purposes. A clear sensor beam alone does not establish that every safety function works.
Gently clean accessible sensor lenses as the manufacturer directs, and remove items blocking the beam. Check visible wiring for damage without opening electrical housings or changing connections. Follow the manual’s exact test procedure; do not improvise an obstruction or stand in the opening to test reversal.
If a required safety test fails, stop automatic operation and arrange service. Do not bypass a sensor, hold a control to defeat a fault or increase opener force to make the door close.
- Identify the opener from its accessible model label.
- Use the matching manufacturer’s operating manual.
- Clear objects blocking the sensor path.
- Clean accessible lenses only as directed.
- Perform safety tests exactly as the manual specifies.
- Stop automatic use after a failed safety test.
5. Clean accessible surfaces and follow lubrication instructions
Start with ordinary cleaning, not lubricant. With the door closed and not being operated, remove loose debris from the floor near the opening. Clean accessible door surfaces using the door manufacturer’s instructions, especially where a particular finish requires specific care.
Lubrication depends on the component and its materials. Do not apply one spray to every moving part, coat the tracks by default or assume that noise means a component needs more lubricant. Use only the lubricant and application points specified in the relevant documentation.
Leave inaccessible components and anything involving tensioned hardware to a professional. Cleaning is useful upkeep, but it does not correct a bent track, damaged bearing or poorly moving door.
- Sweep loose debris away from the threshold.
- Clean accessible panels according to finish-care instructions.
- Keep sensor lenses free of dirt without disturbing wiring.
- Identify approved lubrication points in the manual.
- Avoid unspecified sprays and blanket track lubrication.
- Leave high or difficult-to-reach components untouched.
6. Inspect weather seals and the surrounding opening
Check the bottom seal and perimeter seals while the door is closed. Look for splits, missing sections and visible gaps. Record where the gap appears rather than assuming that the entire door needs replacement.
A damaged seal, an uneven threshold and a door that does not close correctly are different problems. Changing the seal alone will not correct a mechanical closing fault. Never alter the opener’s travel or force settings simply to compress the seal harder.
For a Kentucky home with water entering at the opening, document the entry point and the surrounding ground conditions. Door sealing and drainage deserve separate attention; neither should be diagnosed from a single photograph alone.
- Inspect the bottom seal for tears or missing sections.
- Check perimeter seals for gaps and separation.
- Note whether a gap is localized or spans the opening.
- Remove accessible debris without forcing the seal.
- Record water entry separately from operating problems.
- Leave closing adjustments to a qualified service professional.
7. Record findings and choose the next action
Finish with a short maintenance record. Separate what you observed from what you think caused it: a door stopping during closing is an observation; a failed motor is a diagnosis. Keep the original symptom clear.
Use 4 observations when preparing a service request: what happened, when it happened, where it happened and whether the door is currently open or closed. Add photographs only when taking them is safe.
Keep your 2026 checklist with the manuals and update it after service. Follow the manufacturer’s maintenance schedule rather than assuming that every door, opener and usage pattern needs the same interval.
- Record the symptom in plain language.
- Note whether it occurs during opening or closing.
- State the door’s current position and access limitations.
- Save safe photographs and accessible model information.
- Follow the manufacturer’s schedule for future checks.
Compare 4 maintenance and repair options
Match the response to the fault, not to the age of the door alone. Safe homeowner upkeep, professional assessment, targeted repair and replacement solve different problems. A functioning opener does not rule out a mechanical fault, and one damaged seal does not establish that a new door is necessary.
| Option | Best for | Main benefit | Key limitation |
|---|---|---|---|
| Homeowner observation and cleaning | An apparently sound door needing routine checks | Keeps the opening clear and documents changes | Cannot confirm spring condition or correct mechanical faults |
| Professional assessment | An unclear symptom, unsafe movement or failed safety test | Identifies the cause before choosing work | Does not establish the final repair scope until inspection |
| Targeted repair | A confirmed fault in an otherwise serviceable assembly | Addresses the diagnosed problem without automatic replacement | Does not resolve unrelated damage elsewhere |
| Door replacement | Broader door damage or a replacement need established by assessment | Allows the door and installation requirements to be reconsidered | Requires compatibility and installation assessment; is not routine upkeep |
Use a simple decision sequence: observe safely, stop at a fault, request assessment and then choose the appropriate repair or replacement. Diagnosis belongs before the buying decision.
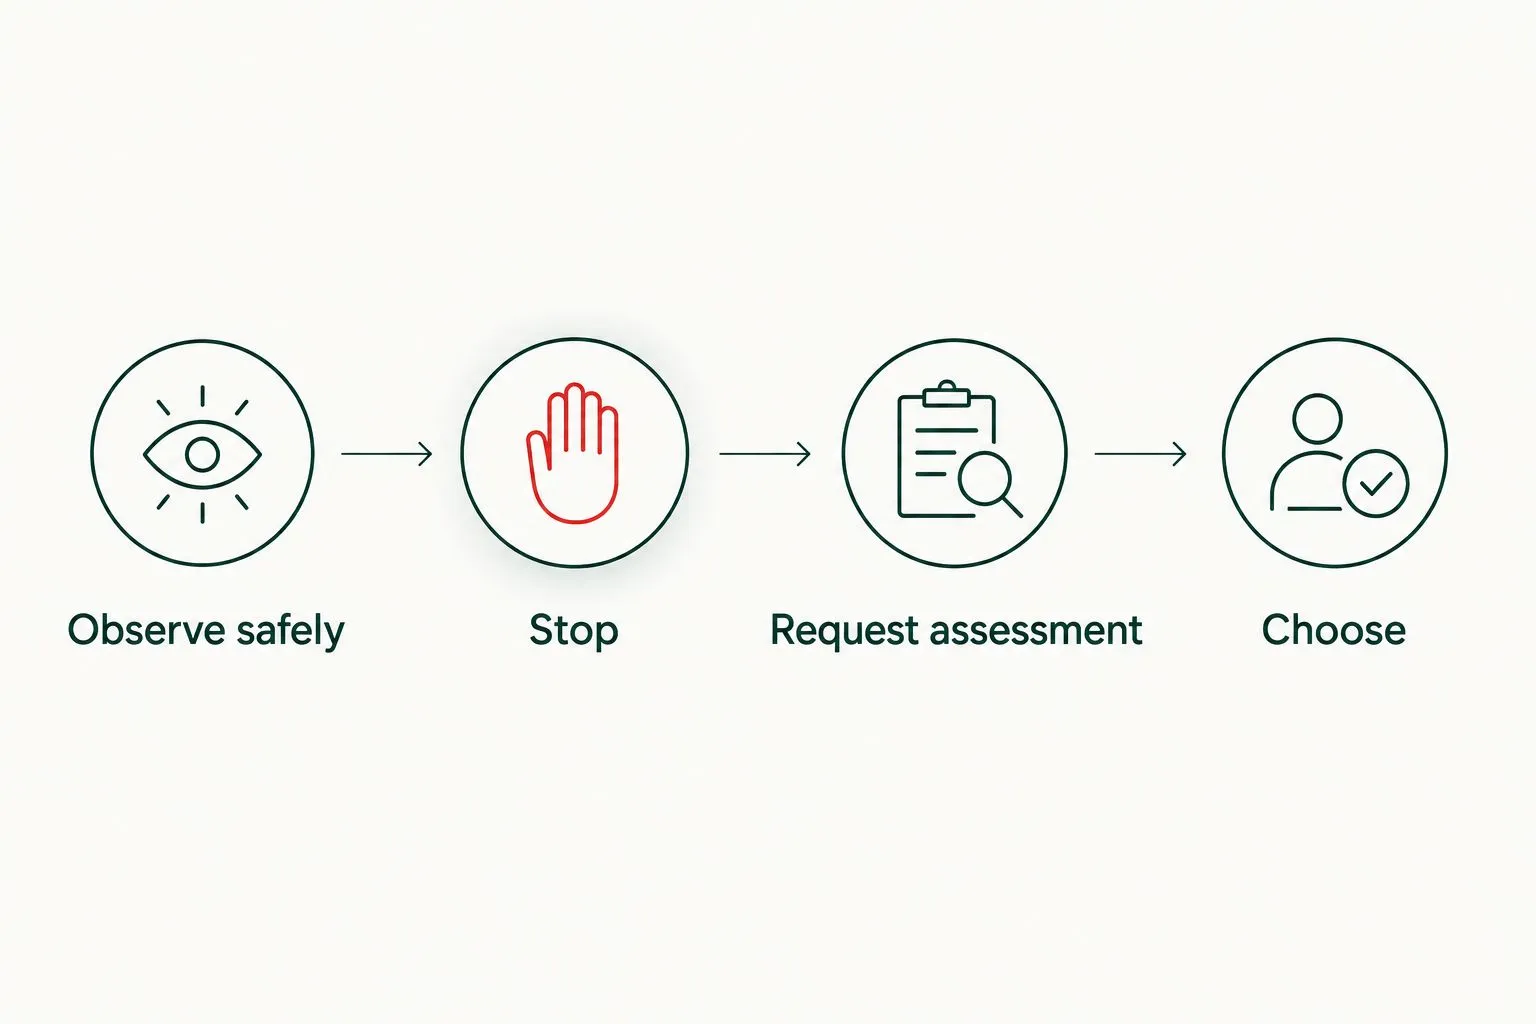
Professional assessment comes before deciding between repair and replacement.
Ask the service provider to explain which finding supports each proposed action. A useful recommendation distinguishes the immediate safety problem from optional upkeep or a separate installation decision.
Common mistakes Kentucky homeowners make
Treating the opener as the whole system
A struggling opener can be reacting to a door problem. Replacing batteries or reprogramming a remote does not correct crooked travel, displaced cables or damaged hardware. Check for visible mechanical faults before treating the symptom as an access-control issue.
Increasing force to overcome resistance
More force is not a maintenance fix. If the door binds or fails to close normally, stop and identify the cause through professional assessment. Do not use settings to push through resistance or defeat a safety function.
Pulling the release on a damaged open door
The emergency release separates the opener from the door; it does not repair the counterbalance system. With an open, crooked or visibly damaged door, keep away and request service instead of attempting manual movement.
Replacing the door for an isolated sealing problem
A torn seal deserves inspection, not an automatic replacement recommendation. First determine whether the problem is the seal, threshold, surrounding drainage or door movement. Keep the repair-versus-replacement decision tied to the diagnosed condition.
Frequently Asked Questions
What belongs on a garage door maintenance checklist for Kentucky homeowners?
Include a visual inspection, safe observation of normal operation, manufacturer-directed safety tests, accessible cleaning, weather-seal checks and a maintenance record. Stop the checklist if you find crooked movement, displaced cables or other visible damage.
How often should I maintain my garage door?
Follow the maintenance intervals in the door and opener manufacturers’ manuals. Arrange assessment when a new fault appears rather than waiting for the next scheduled check.
Can I lubricate my garage door tracks myself?
Do not lubricate the tracks unless the relevant manufacturer explicitly instructs you to do so. Use the specified lubricant only at approved application points, and leave damaged or inaccessible hardware to a professional.
Should I test the garage door balance myself?
Leave balance assessment to a professional if there is visible damage, unusual movement or uncertainty about safe manual operation. Never pull the emergency release on a damaged open door, and do not adjust springs or cables yourself.
What should I do if my garage door will not close?
Stop repeated attempts and look safely for an obstruction, blocked sensor path or visible damage. Follow the opener manual for permitted checks, but never bypass sensors or increase force to overcome the fault.
Does a garage door gap mean I need a new door?
A gap does not by itself establish a need for replacement. Inspect the seal and opening, then have closing or alignment faults assessed before choosing repair or replacement.
Can Derby Strong help with garage door maintenance problems in Kentucky?
Derby Strong provides garage door repair, installation and opener service for homeowners in Louisville, Lexington and Northern Kentucky. Describe your location, the symptom and the door’s current position when discussing service.
One Last Thing Before You Decide
Record where the door stops, not just that it stops. The direction of travel, the location of the hesitation and any visible change give a service professional useful information without requiring you to diagnose or dismantle anything.
If you have already seen a fault, leave it alone. A clear observation and an untouched assembly are a better starting point than repeated tests or an improvised adjustment.